Showing posts with label painting. Show all posts

Wednesday, January 5, 2011

Still Cold


Clear and bright.


Blue skies at last....

Elementary School on 21st Street.

Snowbanks obscure the children's dream of life under the sea.


 Time to get back to work.


How dull. Time to play games like: Find the camouflaged knife


What can this possibly be?


Way too easy to guess.
A very old chair.


Pure white flowers for the new year.

Wednesday, November 3, 2010

Treasure Box Wednesday: Treasuring Bad Art

To follow our recent kitsch theme here on Treasure Box Wednesday, I could think of nothing more likely to put a smile on your face and a snicker on your lips than a little trip to the Museum of Bad Art (MOBA)-- America's collection of well-meaning yet not-quite-right works on canvas. Above is just one example-- the MOBA's Mona Lisa of sorts, "Lucy in the Field with Flowers."

Because YouTube wouldn't let me embed the file, I will include the link to this tongue-in-cheek art exhibition here:


Having commited a few examples of bad art myself-- (I am particularly proud of "Moody Blue Pepper in Otherwise Monochrome Still Life")-- I can completely identify how good intentions can go wrong... so very, very wrong.

Hope your week goes very, very right-- and I'll see you perhaps again on Sunday!

Treasure Box Wednesday: Treasuring Bad Art

To follow our recent kitsch theme here on Treasure Box Wednesday, I could think of nothing more likely to put a smile on your face and a snicker on your lips than a little trip to the Museum of Bad Art (MOBA)-- America's collection of well-meaning yet not-quite-right works on canvas. Above is just one example-- the MOBA's Mona Lisa of sorts, "Lucy in the Field with Flowers."

Because YouTube wouldn't let me embed the file, I will include the link to this tongue-in-cheek art exhibition here:


Having commited a few examples of bad art myself-- (I am particularly proud of "Moody Blue Pepper in Otherwise Monochrome Still Life")-- I can completely identify how good intentions can go wrong... so very, very wrong.

Hope your week goes very, very right-- and I'll see you perhaps again on Sunday!

Wednesday, July 28, 2010

Treasure Box Wednesday: Modern Pre-Raphaelite

I may not have thrifted anything to share with you all this last week, but I never like to leave my lovely guests empty-handed.

So I thought today would be the perfect opportunity to share with you the new web site that artist Michael Thomas passed along to me.

I have three of his paintings, each of which are done in a very Pre-Raphaelite style-- the lone medieval maiden with the flawless face and wistful expression-- and his skilled work enchanted me from the start. It was Rapunzel here which I originally spotted on Ebay that drew my attention to his work...
And now he's got his own web site here at: www.mictomart.com

He does a variety of paintings, often with a storybook illustrative or fantasy bent. I notice he has some prints available of the original painting I have here, "Pisces"...
Anyway, I just thought you folks might enjoy a little mental journey to far-away lands through his work. I look at his paintings every day in my William Morris styled livingroom, and I figured the enjoyment was worth spreading around.

Take care and have a nifty thrifty rest of your week!
-Jenn

Treasure Box Wednesday: Modern Pre-Raphaelite

I may not have thrifted anything to share with you all this last week, but I never like to leave my lovely guests empty-handed.

So I thought today would be the perfect opportunity to share with you the new web site that artist Michael Thomas passed along to me.

I have three of his paintings, each of which are done in a very Pre-Raphaelite style-- the lone medieval maiden with the flawless face and wistful expression-- and his skilled work enchanted me from the start. It was Rapunzel here which I originally spotted on Ebay that drew my attention to his work...
And now he's got his own web site here at: www.mictomart.com

He does a variety of paintings, often with a storybook illustrative or fantasy bent. I notice he has some prints available of the original painting I have here, "Pisces"...
Anyway, I just thought you folks might enjoy a little mental journey to far-away lands through his work. I look at his paintings every day in my William Morris styled livingroom, and I figured the enjoyment was worth spreading around.

Take care and have a nifty thrifty rest of your week!
-Jenn

Thursday, May 20, 2010

Things that Go


A rather usual sort of day..... subway downtown.


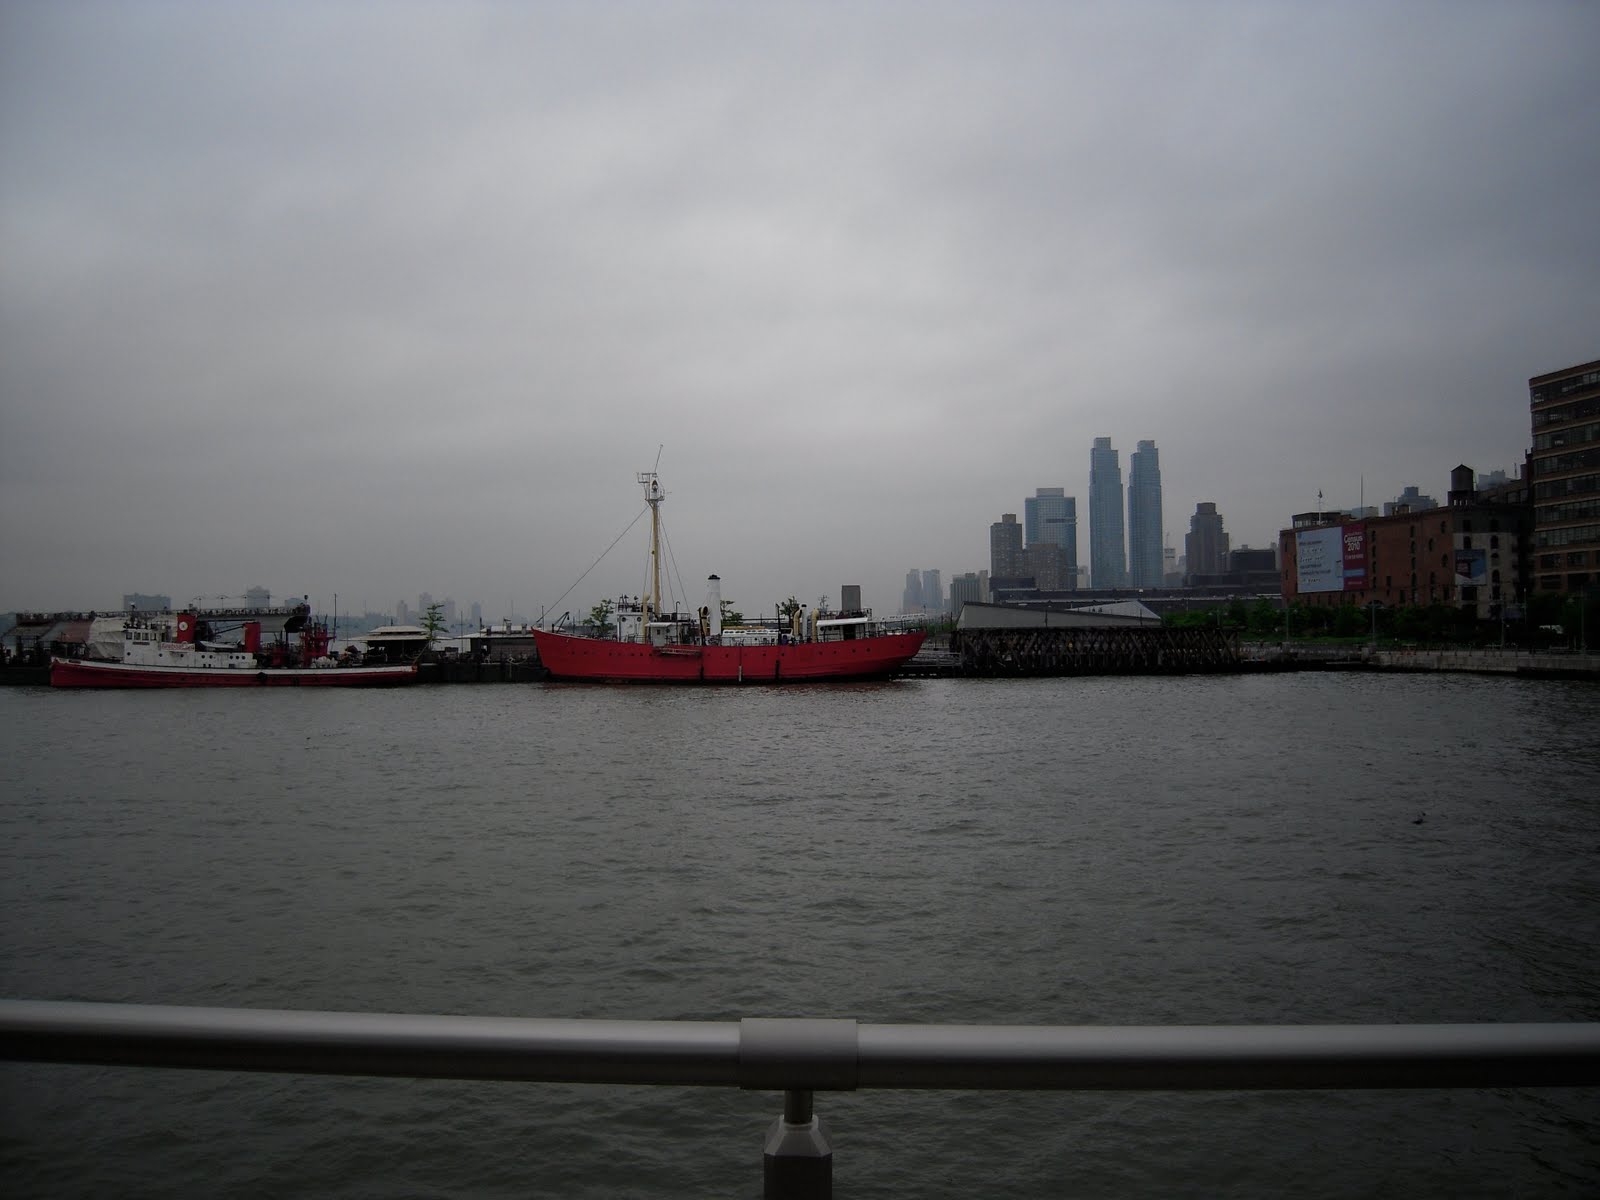
A walk in the new park at the end of 23rd Street


and a visit to the Museum of the American Indian in the former custom house at One Bowling Green which used to be a custom house. Here a mural makes the Hudson look much busier than it does today.

My main blog is now here 


Sunday, March 21, 2010

No Stained Glass Left Behind

Well, I suppose it's not as bad as some addictions. I mean, the cops won't pull me over and book me for it. I'll never have to endure a cavity search because of it. And in one of those VH1 "Behind the Music" specials, it wouldn't pose much of a Dramatic Downfall.

Still, I do loves me stained glass windows. And I'm not afraid to have one hanging in every window in this house.

As you can see, I liked the arched stained glass panel I'd gotten so much, I'd invested in a slightly
larger one for my livingroom windowseat area. I'd had the pair of shield stained glass windows for years-- one in the center, and one propped in that tricky area I'd corrected recently in that boarded up area.

Now both shield windows are getting some light and, while they've only been up a few hours, it seems to me like they've lived there all along.

Of course, these were the easy ones. What's been an interesting challenge is the painted stained glass window I'm working on for my kitchen!

I was aiming for something to match my brightly colored Fiesta ware. Something streamlined, yet still having a period feel. Given the quirkiness of the dishes, and the fact I have a number of pottery heart molds hanging around, I decided to go with a Rennie MacIntosh (art and crafts period) meets Alice in Wonderland look.

This was my initial design...
I bought an old plain window at Construction Junction architectural salvage today...
(Mind the feet.)

You'll probably all get a chuckle when I tell you how much it set me back. Can you guess?

No?

Well, how about $1.07?

I know; I had to ask the cashier to repeat that myself. Now that's the kind of cost I like in a craft project-- especially one that's an experiment that may go awry.

I still had some stick-on leading from my previous projects. So I started mapping out my design. Here we just have the border...
Now for the start of the MacIntosh roses...
As the piece started to take shape, it also started to deviate a little from my original plan. Not a bad thing-- sometimes flexibility is what makes a craft have character. Here you'll see where I have it now... Most of it is mapped out...
Once I'm completely happy with the design, I'll begin to paint in the color. That's actually the part I've been really looking forward to! But, as you can see, it seems to be shaping up all right.

I think I might cut out a heart shape from paper and try to get those hearts more consistent. It's been challenging adding them by just eyeballing them.

Anyway, that's where it stands. I hope to update you folks with it as it comes to a conclusion. Even if it doesn't work out, we can get some chuckles from the mistakes.

And as always, thanks so much for stopping by and sharing in the fun!

No Stained Glass Left Behind

Well, I suppose it's not as bad as some addictions. I mean, the cops won't pull me over and book me for it. I'll never have to endure a cavity search because of it. And in one of those VH1 "Behind the Music" specials, it wouldn't pose much of a Dramatic Downfall.

Still, I do loves me stained glass windows. And I'm not afraid to have one hanging in every window in this house.

As you can see, I liked the arched stained glass panel I'd gotten so much, I'd invested in a slightly
larger one for my livingroom windowseat area. I'd had the pair of shield stained glass windows for years-- one in the center, and one propped in that tricky area I'd corrected recently in that boarded up area.

Now both shield windows are getting some light and, while they've only been up a few hours, it seems to me like they've lived there all along.

Of course, these were the easy ones. What's been an interesting challenge is the painted stained glass window I'm working on for my kitchen!

I was aiming for something to match my brightly colored Fiesta ware. Something streamlined, yet still having a period feel. Given the quirkiness of the dishes, and the fact I have a number of pottery heart molds hanging around, I decided to go with a Rennie MacIntosh (art and crafts period) meets Alice in Wonderland look.

This was my initial design...
I bought an old plain window at Construction Junction architectural salvage today...
(Mind the feet.)

You'll probably all get a chuckle when I tell you how much it set me back. Can you guess?

No?

Well, how about $1.07?

I know; I had to ask the cashier to repeat that myself. Now that's the kind of cost I like in a craft project-- especially one that's an experiment that may go awry.

I still had some stick-on leading from my previous projects. So I started mapping out my design. Here we just have the border...
Now for the start of the MacIntosh roses...
As the piece started to take shape, it also started to deviate a little from my original plan. Not a bad thing-- sometimes flexibility is what makes a craft have character. Here you'll see where I have it now... Most of it is mapped out...
Once I'm completely happy with the design, I'll begin to paint in the color. That's actually the part I've been really looking forward to! But, as you can see, it seems to be shaping up all right.

I think I might cut out a heart shape from paper and try to get those hearts more consistent. It's been challenging adding them by just eyeballing them.

Anyway, that's where it stands. I hope to update you folks with it as it comes to a conclusion. Even if it doesn't work out, we can get some chuckles from the mistakes.

And as always, thanks so much for stopping by and sharing in the fun!

Tuesday, March 2, 2010

Transoms and Transformations

With a title like that, I probably should follow with a Jane Austen theme, shouldn't I? Ah, can't you see it now?...Pride and Prejudice... Sense and Sensibility... Transoms and Transformations...
"A cautionary social mores tale about a witty yet naive, upper-class 18th century young woman, designing stained glass windows the same way she pieces together the shattered love lives of those around her..."
Okay, so... no.

Fortunately, my actual stained glass window project was a little more successful than my knock-off Austen.

Yes-- when last we left the project, I was hoping to take the boarded-up window I'd inherited in my livingroom and stylishly add this...
To this...
Then I'd tried a gel stain (which you can supposedly paint on non-wood items, as well) in Aged Oak. One coat looked hopeful-- like this:
Unfortunately, Coat Two ended up looking like this...
Really dark and still not spread evenly. A third coat would have made it almost black. And black would have been the opposite of Improvement. So I shifted my gameplan.

I decided to paint over it with a lighter warm brown undercoat, let that dry, and then went over it in a darker brown topcoat. Then woodgrained it. Here's the dark brown coat...

And, would you believe a variety pack of haircombs from the drug store served as the appropriate woodgraining tools?

When done, I went over the whole thing with a clear Satin topcoat, to keep the shine down so it would match the rest of my faux wood painted baseboards. (Thankfully, it does!!)

Then came time to add the stained glass window panel. As the stained glass was a little smaller than the boarded up area, I decided I would faux finish the rest of the board to make it look like stained glass, too.

For each layer of "glass" I used a light paint and dark paint in the same general color palette, and blended while wet.
So here are the edges all taped off and painted. Uneven gradations and variation will help make it look more like stained glass (I did a lot of staring at real stained glass to figure out how it worked!)...
Now the inside. We tape off...
And add the green. This is a combination of Forest Green Folk Art paint and some leftover wall paint from this room. That color is called "Celadon" by Eddie Bauer, in their Craftsman collection.
Now we move on to the middle block to surround the arced stained glass. This was done in some of the tans for the first layer, along with some of the brown used for the window frame. The corners also got a little pop of red...
And here I fit the stained glass panel into place, to double-check that it fits.
Last, I used some stick-on craft leading I'd picked up ages ago for another project, and added them in, extending the real-lead lines of the actual stained glass window in to the new faux ones.
And voila! Completed window!

Oh wait-- let's not forget the McCoy vase collection to match!...
Phew! I'm kinda tired now! Where's Mr. Darcy? It's time to take a nice, quiet night off.

Thanks for bearing with me everyone, while I completed the project.

And I hope you all have a marvelous rest of your week.

Transoms and Transformations

With a title like that, I probably should follow with a Jane Austen theme, shouldn't I? Ah, can't you see it now?...Pride and Prejudice... Sense and Sensibility... Transoms and Transformations...
"A cautionary social mores tale about a witty yet naive, upper-class 18th century young woman, designing stained glass windows the same way she pieces together the shattered love lives of those around her..."
Okay, so... no.

Fortunately, my actual stained glass window project was a little more successful than my knock-off Austen.

Yes-- when last we left the project, I was hoping to take the boarded-up window I'd inherited in my livingroom and stylishly add this...
To this...
Then I'd tried a gel stain (which you can supposedly paint on non-wood items, as well) in Aged Oak. One coat looked hopeful-- like this:
Unfortunately, Coat Two ended up looking like this...
Really dark and still not spread evenly. A third coat would have made it almost black. And black would have been the opposite of Improvement. So I shifted my gameplan.

I decided to paint over it with a lighter warm brown undercoat, let that dry, and then went over it in a darker brown topcoat. Then woodgrained it. Here's the dark brown coat...

And, would you believe a variety pack of haircombs from the drug store served as the appropriate woodgraining tools?

When done, I went over the whole thing with a clear Satin topcoat, to keep the shine down so it would match the rest of my faux wood painted baseboards. (Thankfully, it does!!)

Then came time to add the stained glass window panel. As the stained glass was a little smaller than the boarded up area, I decided I would faux finish the rest of the board to make it look like stained glass, too.

For each layer of "glass" I used a light paint and dark paint in the same general color palette, and blended while wet.
So here are the edges all taped off and painted. Uneven gradations and variation will help make it look more like stained glass (I did a lot of staring at real stained glass to figure out how it worked!)...
Now the inside. We tape off...
And add the green. This is a combination of Forest Green Folk Art paint and some leftover wall paint from this room. That color is called "Celadon" by Eddie Bauer, in their Craftsman collection.
Now we move on to the middle block to surround the arced stained glass. This was done in some of the tans for the first layer, along with some of the brown used for the window frame. The corners also got a little pop of red...
And here I fit the stained glass panel into place, to double-check that it fits.
Last, I used some stick-on craft leading I'd picked up ages ago for another project, and added them in, extending the real-lead lines of the actual stained glass window in to the new faux ones.
And voila! Completed window!

Oh wait-- let's not forget the McCoy vase collection to match!...
Phew! I'm kinda tired now! Where's Mr. Darcy? It's time to take a nice, quiet night off.

Thanks for bearing with me everyone, while I completed the project.

And I hope you all have a marvelous rest of your week.